Worried your squash will rot before winter is over? Here is how to cure winter squash: keep it warm, dry and airy for up to two weeks, then store it somewhere cool.
The guide to types of squash explains how the varieties differ, and that matters here because acorn squash is the main exception to curing.
| Item | Value |
|---|---|
| Curing temperature | 80 to 85°F |
| Curing relative humidity | 80 to 85 percent |
| Curing time | about 10 to 14 days |
| Storage temperature after curing | 50 to 55°F |
| Storage relative humidity after curing | 50 to 70 percent |
| Hubbard storage life when cured and stored | 5 to 6 months |
These figures come from the Iowa State University Extension and Harvest to Table. They can change, so check the sources before you rely on them.
What curing does to winter squash
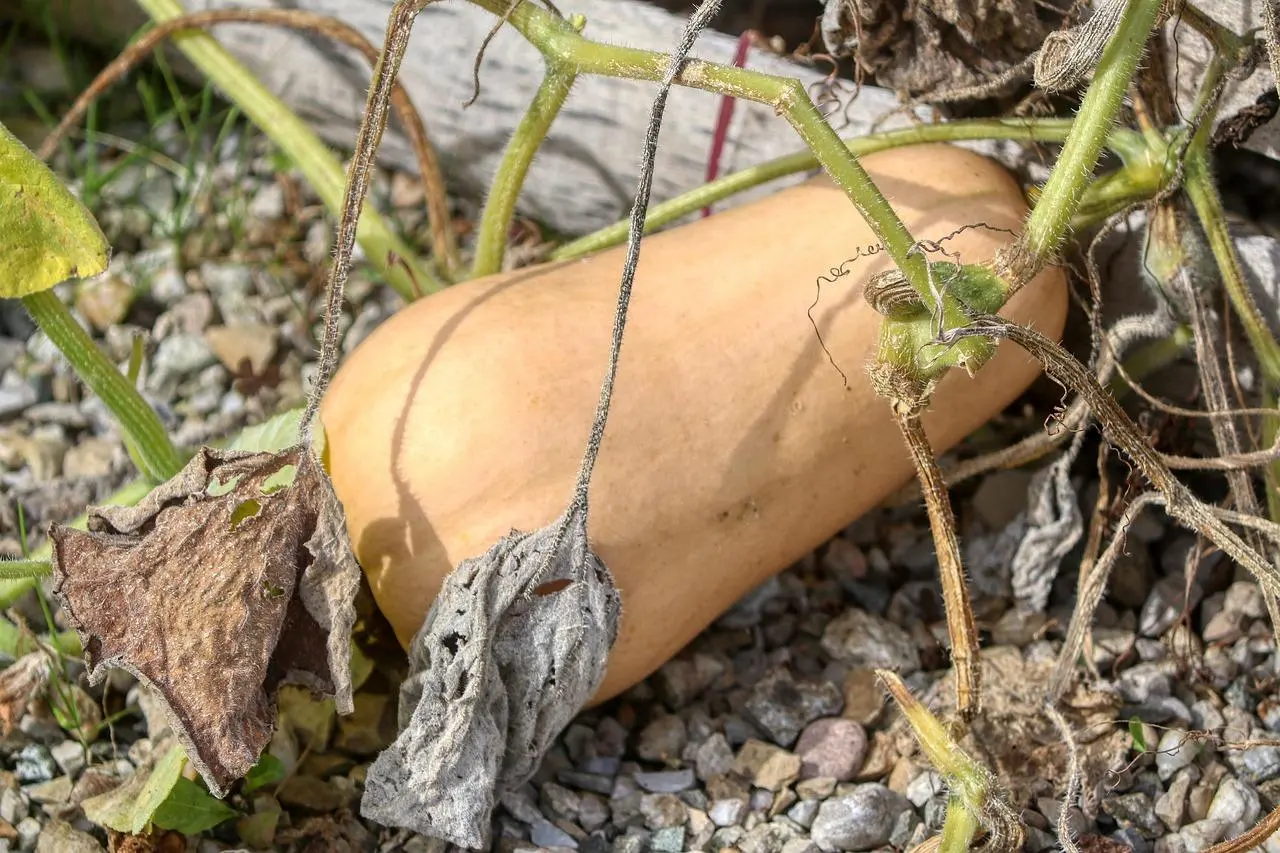
Curing is a short spell of warm, dry, well-aired storage straight after harvest. According to the Iowa State extension, it hardens the skin and heals cuts and scratches.
Harvest to Table adds that curing lets excess moisture evaporate and slows the fruit’s respiration rate, and both help long storage. As the water leaves, natural sugars concentrate and the squash tastes sweeter.
A corky seal also forms over wounds during curing, as Small Farm Canada describes it. That seal matters because the rind is the fruit’s only protection, and Virginia Tech notes that decay organisms break down a squash quickly once the rind is bruised or punctured.
Before you cure: harvest, stems and cleaning
Curing only helps a squash that is already in good shape. Harvest to Table says to cure blemish-free fruit only, and not to cure squash that is bruised, punctured or deeply cut.
Ripeness counts too, and the guide on when to harvest winter squash covers the signs to look for before you cut anything.
Prepare each fruit with these habits:
- Cut the squash from the vine with pruning shears rather than tearing it off, because ripping can leave a wound that turns to rot (Harvest to Table).
- Leave a short stem. The Iowa State extension says 1 inch, Harvest to Table says a 2- to 4-inch stem, and Small Farm Canada says an inch or two.
- For Hubbard types, remove the stem completely, since Harvest to Table says they store best that way.
- Wipe off soil with a dry towel and skip the water, as Harvest to Table advises.
Handle every fruit gently. Virginia Tech points out that squash looks tough but is easily damaged, so place fruit down instead of dropping it into a crate.
How to cure winter squash step by step
Curing needs little more than a warm, airy spot. The Iowa State extension gives a target of 80 to 85°F with 80 to 85 percent relative humidity.
If the weather is warm and dry, you can start in the garden. The UC Orange County page suggests letting fruit sit in the field when conditions are favorable, and Virginia Tech mentions windrows during a run of warm, dry days.
- Pick a warm spot with moving air. If you cannot cure outdoors, Harvest to Table suggests a warm shed or garage with a small fan.
- Lift the squash off the ground onto an elevated rack or mesh frame, such as a window screen, so air reaches every side.
- Keep the fruit dry the whole time. Moisture on the skin invites rot.
- Hold the squash at 80 to 85°F and 80 to 85 percent humidity for about 10 to 14 days, per Harvest to Table.
- Check that the skin has hardened and any scratches have healed, then move the fruit to storage.
Sources give slightly different timings. Small Farm Canada says 10 days, the UC Orange County page says seven to fourteen days, and Virginia Tech describes up to two weeks in a warm, dry atmosphere of 70-80ºF with good air circulation.
Which squash should you not cure?
Acorn squash is the usual exception. The Iowa State extension says the high temperature and humidity of curing reduce the quality and storage life of acorn squash.
The UC Orange County page gives a reason: acorn skins are thinner and more delicate, and acorn already has the shortest storage time of the winter squashes. It also calls the need for curing in general somewhat debatable.
Harvest to Table names the types that do need it:
- Blue Hubbard
- Buttercup
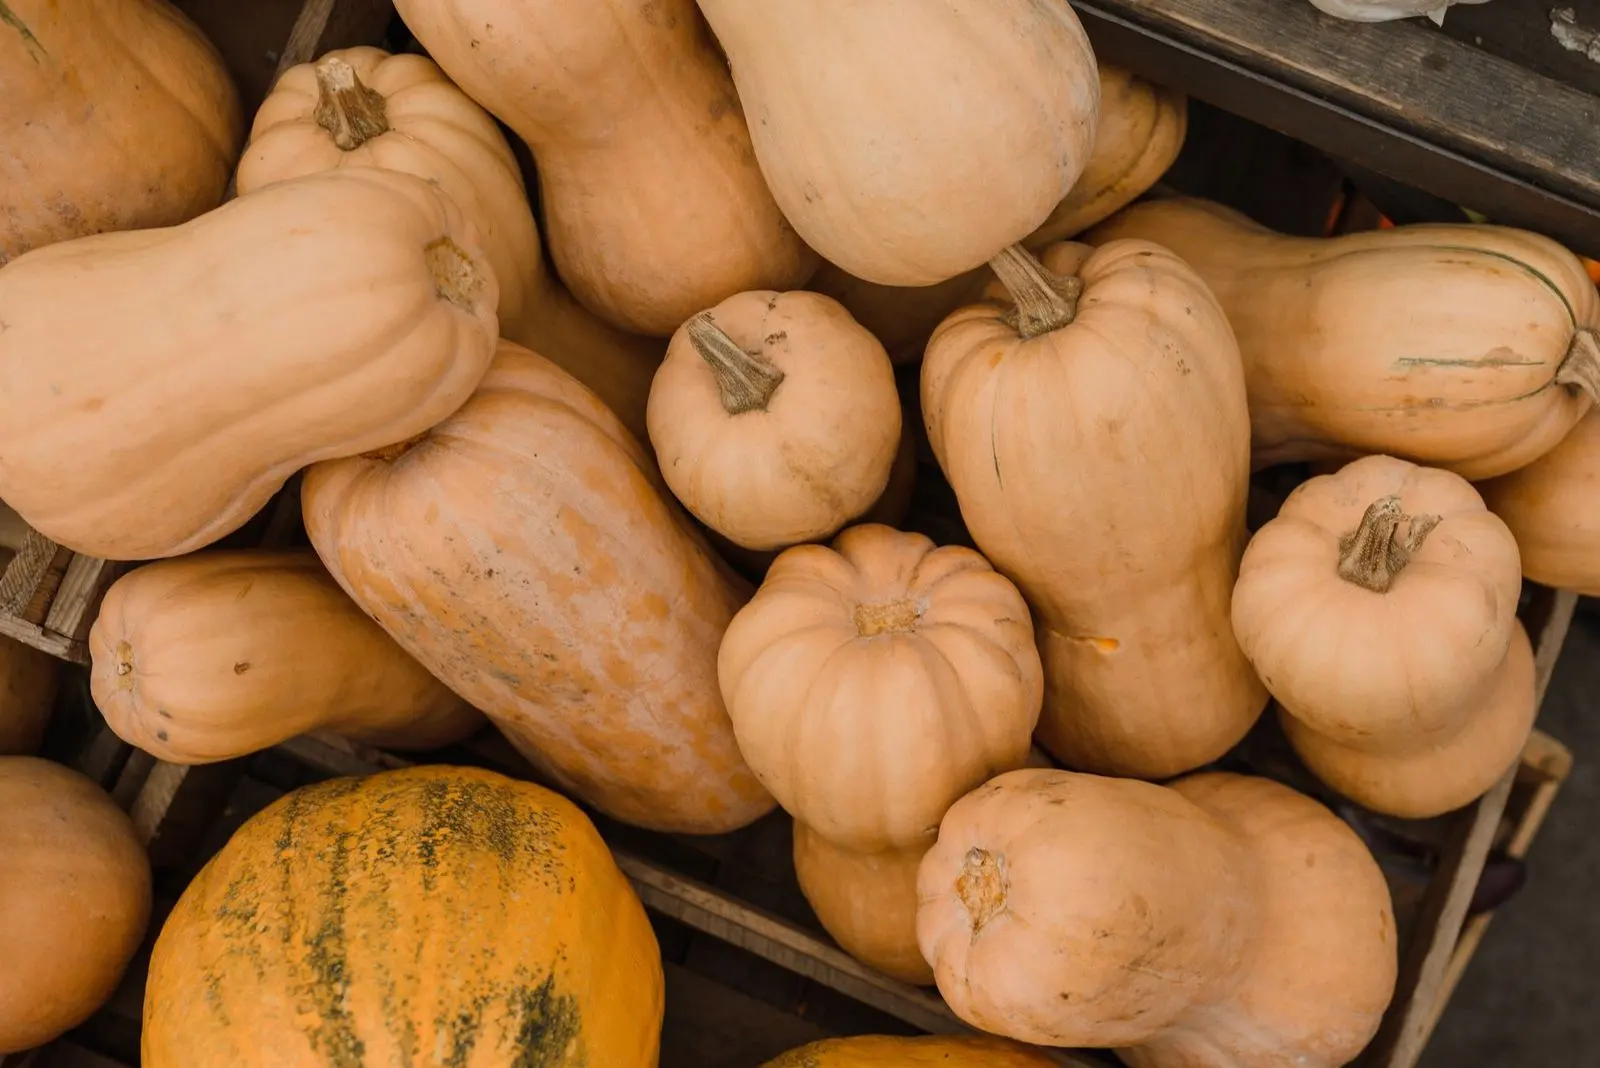
- Butternut
- Spaghetti
What to do after curing
Move cured squash to a cool, dry, well-ventilated place. The Iowa State extension puts storage temperature at 50 to 55°F, and Harvest to Table adds a relative humidity of 50 to 70 percent, since higher humidity can result in rot.
The guide on how to store winter squash picks up from here with the long-term setup.
- Keep squash away from apples, pears and other ripening fruit, whose ethylene gas can make squash yellow and eventually rot (Harvest to Table).
- Use a shelf or rack rather than the floor, and keep the skins dry.
- Check the fruit every week. A squash that starts to spot should be moved away from the others and used soon.
- Use chilled fruit first. Virginia Tech says squash that suffered chilling injury is a poor choice for long-term storage.
For planning, the Iowa State extension gives approximate storage lives of 5 to 8 weeks for acorn, 2 to 3 months for butternut and 5 to 6 months for Hubbard when properly handled.
Frequently asked questions
Is curing really necessary?
Show answer
Sources lean different ways. Harvest to Table calls curing essential for long storage, while the UC Orange County page calls the need somewhat debatable.
Can I cure squash without outdoor space?
Show answer
Yes. Harvest to Table mentions a small cabinet with a thermostatically controlled electric heater, and Virginia Tech mentions a greenhouse with good air circulation.
What if my squash is slightly unripe?
Show answer
You can still cure it, but mature fruit is the better choice, according to Harvest to Table. The UC Orange County page warns that semi-ripened fruit does not store well, so eat those first.